Saturday, May 29, 2010

Giveaway Winner

And the winner (as determined by random.org) is comment number 1:
katiegirl said... Count me in. Oh, so cute!!

So, congratulations katiegirl! I will send you an email shortly.

For all of you who missed out, make sure you keep checking back because I plan on having another giveaway in a couple of weeks.

Friday, May 28, 2010

My Craft Space Revamp : Project Bags

Today my aim was to sort out my current projects and blog about that. I thought it would make for a boring post, but I was going to spice it up by dazzling you with some humour along the way. That was the aim.... until I saw this post on the How About Orange blog this morning.

Such a simple idea - drawing on zip lock bags with permanent marker. I had to get me some of those! So that's what I spent an hour or two doing today:

I made a bag for a sewing project:

Complete with a few buttons and a reel of cotton:


A bag for a Christmas project:

See the cute little gingerbread house?:

I also made a bag for my card making projects:

This one has pictures of various events that you could possibly need cards for:


And of course everyone needs a bag for the project you procrastinate about (perhaps I need a few more of these!):

This one has the dictionary definition for procrastination written on it:

The best thing about these bags are that they are reusable. To clean the design off (or to fix up any mistakes you make) just use nail polish remover on a piece of cloth or a tissue and wipe over the design. Too easy!

Snickerdoodle Slice Disaster

You know those craft and cooking blogs that make everything seem effortless and that nothing ever goes wrong? Well... this is not one of those types of blogs.

So, if you want to continue to believe that people who have cooked and crafted for years don't make mistakes, I suggest that you don't read any further. Yesterday I made a doozie of a mistake.... a simple, yet devastating mistake. Let me explain...

I wanted to make this Snickerdoodle Slice for our craft night. It seemed easy enough and I guess it would have gone smoothly if I had just read the recipe correctly. You see, instead of converting 350 degrees Fahrenheit into degrees Celsius... I just cranked my oven to it's highest setting. The fact that my oven dial doesn't even go to 350 degrees should have been the first clue that something was amiss!

Perhaps it was the fact that I was rushing because I knew Little Snicker would be looking for a feed or perhaps it was the fact that I'd only gotten 4.5 hours of sleep the night before. Whatever it was, after 15 minutes in the oven I noticed a smokey haze emerging from the kitchen. This is what had happened to my Snickerdoodle Slice:

Oh dear!

I was going to throw it out, but I figured I might as well attempt to save it.

So I cut the burnt bits off:

Then I made up some butter icing and added some cinnamon to give it a nice colour and flavour:

and spread it on nice and thick:

Then I sprinkled some coconut on the top (because we all know coconut hides a multitude of sins):


How was it?


Well no one complained that it didn't taste any good and Matty took the left overs to work, so it couldn't have been too bad. I think I might try to make it again on the weekend, making sure I read the recipe correctly.

I will be back later on today to share with you what I've been doing in the craft space revamp.

Wednesday, May 26, 2010

Tutorial : Using Watercolour Pencils to Make Cards

Today I needed to make some cards, so I thought I would make a tutorial to show you an easy way to do just that using watercolour pencils.

Anyway, back to the cards... Depending on how detailed your design is, it will take you between 10 - 30 minutes to make.


You will need:

Watercolour paper (It is sold in a pad of around 10 sheets in art supply shops). You can use ordinary card, but if you use too much water when you're painting then it will wrinkle.
Watercolour pencils. These are pencils specially designed to get wet. You can get these from an art supply shop also.
Tracing paper
A Pencil
A fineliner
A fine paintbrush
A glass of water
A piece of plain white paper (for drawing your design on)

Instructions:

Start by drawing the design you want onto your piece of plain white paper. I suggest folding your paper to the size the front of your card will be. This will ensure that your design will fit just right:


Next, trace your design with a pencil onto your tracing paper:


Turn your piece of tracing paper over and copy the design. This will ensure that when you complete the next step, your design is the right way around:


Take your piece of Watercolour paper and fold it in half to make the card. Turn your piece of tracing paper over and line up the design onto the front of your card. Colour over all of your traced lines heavily, like so:


Once complete, your design will appear lightly on the front of your card:


Next, take your watercolour pencils and roughly colour around the edges of all sections of your design. Remember that the more colour you have, the more 'paint' you will have in the next step:


Take your paint brush and dip it into the water. Paint over the sections that you have coloured, making sure you clean the brush between each colour:

and keep going....


Until you are finished:


It is about this time that I think how terrible my card is turning out and makes me realise that I am certainly no artist. BUT KEEP GOING.. I promise it does turn out alright!

You will need to wait for the card to dry. I usually bust out the hair dryer or sit the card over the central heating vent to speed this part up. Once dry, take your fineliner and draw around the outline of your finished design. Like this:


See, I told you it would all be ok.

Obviously you can cut down on the time the card takes to make by drawing your design straight onto the card with your watercolour pencils. Below is a picture of a card I completed by doing just that:


Better yet, there is no reason why your kids can't help out with this. Why not draw the design and have them paint it for you!

Tuesday, May 25, 2010

Giveaway!

This giveaway is now closed!

Ok people, here it is... my very first giveaway - A Tic-Tac-Toe set:


So, what is in this Tic-Tac-Toe Set? Well you get a fold-able quilted board:


You also get TWO sets of playing pieces... The traditional X and O's:

AND a set of cars and boats. Cool huh!


It also comes with a draw string bag to hold a full set of pieces in (either the boats and cars or the X and O's)

And it's all contained in a specially made recycled box:


How to Enter:

There are three ways in which you can enter this giveaway:

1. You can leave a comment on this post

2. You can become a follower of my blog and leave another comment on this post stating that you are a follower. If you're already a follower, just leave another comment stating that you're already a follower!

3. You can mention this giveaway on your blog and leave another comment on this post saying that you've done just that... oh and include a link to your blog so I can go and check your blog out when I have a chance!

Make sure you leave an email address so I can contact you if you do not have your email address stored in your profile.

So there you have it. Everyone has three chances to win by leaving 3 individual comments on this post... you can't ask for more than that!

This giveaway is now closed!

Good luck!

Monday, May 24, 2010

50 Followers!

Yesterday I received an email from Kanaha advising me that she was my 50th follower! How VERY Exciting!

I have been working on getting the giveaway ready today but Little Snicker didn't really want to cooperate. He decided that closing his eyes for a mere 5 minutes constituted a sleep, so I wasn't able to get as much done as I would have liked.

Here is a snippet of part of the giveaway - Can you guess what it is?!?:

I am hoping to have it all ready to go tomorrow, so make sure you pop in again to find out how to enter.

Sunday, May 23, 2010

My Craft Space Revamp : Birdhouse Ribbon Storage

As promised, here is a picture of the project I undertook this week as part of my craft space revamp. It's a miniature birdhouse to store some of my ribbons!

I had actually planned on completing another project (still related to ribbon storage) this week, but lets just say I had a little 'mishap' and as a result I need to start all over again.

This ribbon storage project (and the one I botched) make use of the ribbon storage reels I made earlier in the week, so my ribbons should be nice and easy to store now.

So, how did I make the birdhouse? Well I got the template from the Just Something I Made
blog, followed the easy instructions and that's about all there is to it. The way that this house is put together means that you can open the bottom like a box and pop your ribbon storage reels in. Super!

Some tips if you are going to attempt this yourself:

1. Scoring really does just mean 'lightly mark'. I cut a little too deep on one side of my house, and the whole thing fell in half lol. As a result I had to tape it back together:

2. If you're using the template with the scalloped roof, don't 'pre cut' the scalloped part. I already knew the scalloped roof could present a problem for me and my less-than-average cutting skills, so instead I didn't cut out the scalloped roof until I'd stuck both pieces together.

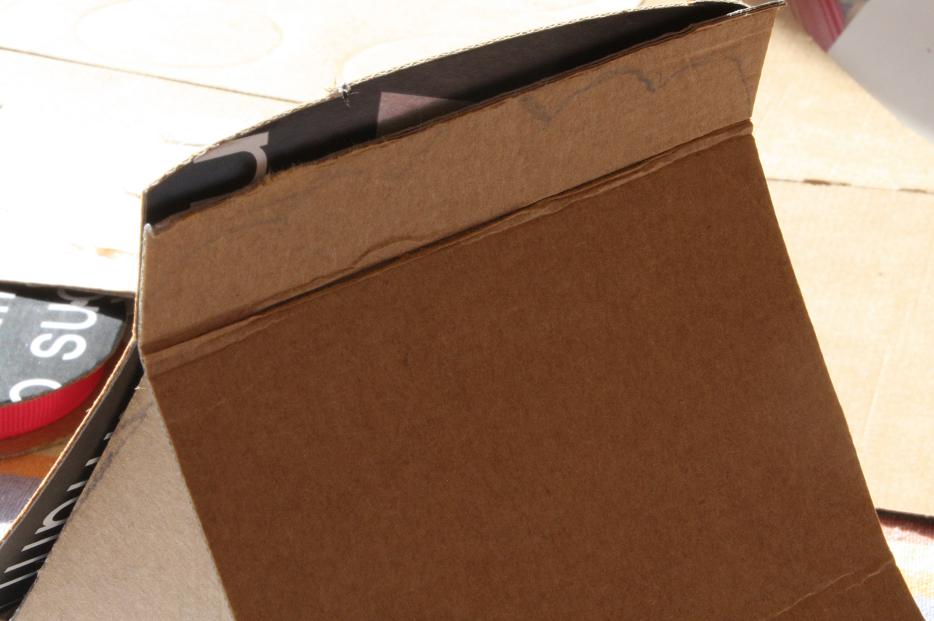
See, now they're even:


This house is so cute I think I'm going to make a couple more.

If you haven't checked out the Just Something I Made blog, I suggest you do. There is some pretty cool stuff on there.

Friday, May 21, 2010

Photo Importing Issue

Well it appears that I can't show you my latest craft space revamp project, as blogspot is having issues with importing photo's today!

So... you'll just have to wait! If you're lucky, I'll pop back in some time over the weekend to show you what I got up to this week.

Thursday, May 20, 2010

Tutorial : Ribbon Storage Reels

Today I created some ribbon storage reels as I need them for tomorrow's craft space revamp project.

I seem to have an abundance of ribbons that I have acquired from various sources (usually presents), that are just floating around in a box labelled 'ribbons':


Usually I don't need to delve into the ribbon box too often as there really isn't anything super impressive in there, but I have decided that I am going to start collecting more pretty ribbons for use in my projects.

With that in mind, I need a better storage solution (make sure you pop in tomorrow to see what I'm going to be using to store these ribbons in!)

Anyway, enough chit chat.. lets make some ribbon storage reels.

You Will Need:


Empty toilet rolls
Thin cardboard (an empty soft drink box will work good)
A ruler
A pencil
A pair of scissors
A hot glue gun
A 'circle' template or something circular that you can trace around
Sticky tape

Instructions:

First, cut your toilet roll lengthwise:

Next, lay the toilet roll flat. Measure the width of the ribbon you want to store and rule lines slightly further apart than the width of your ribbon.


Next, cut along your ruled lines to create strips:


Tape the ends of your strips together so that they become circular again:


Take your 'circle' template or the circular item you are going to trace around and draw circles on to your thin cardboard. Your circles will need to be roughly 1-2 cms larger than the diametre of your toilet roll:

Cut out these circles:


Place your toilet roll circle in the middle of the circles you have just cut out and trace around it. This will be your guide as to where the hot glue should go:


Place hot glue around the inner edge of the circle you just traced and place a toilet roll circle on top. Hot glue sets really quickly, so you will only be able to do one side at a time:


Next, hot glue your other circle onto the other side of your toilet roll circle using the same technique:


Finally, wrap your ribbon or ric rac on to your ribbon storage reels:


Ta-da! You're finished!